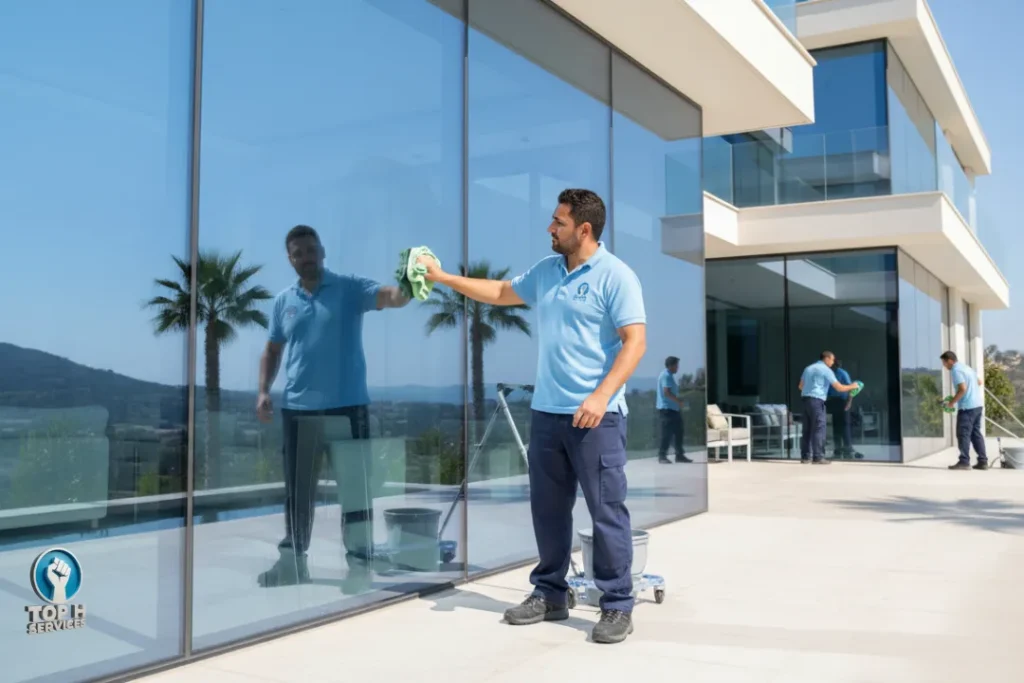

Post-Fit-Out Villa Cleaning Checklist Before Moving In
A new or renovated villa can look complete while still carrying the evidence of construction and interior fit-out work. Fine dust settles inside drawers, protective film remains on glazing, paint flecks appear near switches, and floor edges hold grit that a quick clean will not remove. A well-planned post-fit-out villa cleaning checklist makes the transition from project handover to comfortable living more controlled. It helps you clean in the right order, protect newly installed finishes, and notice issues before furniture or personal belongings hide them.
This checklist is for the period after construction, renovation, carpentry, painting, tiling, and final installations have finished. It focuses on dust, residue, floors, windows, cabinets, bathrooms, exterior areas, and the walk-through before occupancy. The objective is more than a good first impression. It is to prepare each room for daily use without damaging new materials or overlooking details that should be raised during handover.
For a general starting point, visit the main website or review the available cleaning options. Whether the work is handled in-house or with cleaning support, a clear checklist provides a practical sequence and a reliable final standard.
Why Cleaning After a post fit out villa cleaning checklist Is Different
Ordinary housekeeping deals mainly with everyday dust, food spills, fingerprints, and regular bathroom use. Post-fit-out cleaning deals with substances left by a project: plaster particles, sawdust, grout haze, silicone traces, paint splashes, label adhesive, protective coverings, and small pieces of packaging. Some contamination is obvious, but fine construction dust can remain in tracks, vents, cupboards, and high ledges long after a room appears clean.
New surfaces also require more restraint. A strong chemical, abrasive sponge, or metal scraper may damage a fresh countertop, coated frame, polished fixture, painted wall, or sealed stone floor. The right method depends on both the residue and the material below it. Cleaning should therefore progress from the least aggressive safe option, with an inconspicuous test where there is any uncertainty.
This final cleaning stage also reveals defects. Once dust, film, and cartons are removed, a chipped tile, scratched pane, incomplete silicone line, uneven paint touch-up, or misaligned cabinet door becomes easier to see. Record such items separately rather than trying to solve installation or repair problems through more forceful cleaning. A clean villa is easier to inspect, and an inspection is more useful before move-in.
Where a whole property needs preparation after completion, the new-villa preparation resource and the after-construction cleaning resource are relevant internal references.
Prepare the Villa Before post fit out villa cleaning checklist Begins
Do not begin a detailed clean while cutting, sanding, drilling, painting, or repeated installation work is still taking place. Ask whether all trades have finished, including small touch-ups and appliance fitting. If workers continue entering the villa, fresh dust and shoe marks can undo completed rooms. Establish a practical handover point, then keep unnecessary traffic out of cleaned areas.
Clear Debris, Packaging, and Protective Materials
Start with a slow walk-through carrying waste bags, gloves, and containers for recyclable materials. Remove cardboard, plastic wrap, loose offcuts, cable ties, empty containers, tape, and disposable floor protection. Check behind doors, under stairs, inside utility rooms, on balconies, and in every cabinet. Leaving packaging inside a completed room can release dust and conceal damage or unfinished work.
Remove protective films and labels carefully. They may be found on windows, mirrors, appliances, metal trims, cabinet fronts, and sanitary fixtures. Lift a corner slowly and follow any manufacturer directions. Film that has been left in heat or sunlight may be difficult to remove, but rushing with a blade can scratch the surface beneath. If adhesive remains, identify the finish first and test a suitable approach in a hidden area.
Assemble Surface-Safe Tools
Prepare clean microfiber cloths, a vacuum with soft attachments, a soft brush, a mop system, separate buckets, non-abrasive sponges, and a telescopic duster. Reserve different cloths for glass, kitchens, bathrooms, and general dusting. This prevents greasy residue or cleaning product from being transferred onto a white cabinet front or glass panel. Keep a portable light or torch available for checking dark cabinet interiors and glazed surfaces at an angle.
Plan Your Route and Keep a Defect Log
Work from the highest floor down and, inside each room, from top to bottom. Ceiling features, vents, and tall ledges should be cleaned before cabinetry, counters, and floors. The final detailed floor clean belongs near the end because dust from higher surfaces will settle downward. This sequence reduces repeated work and limits the risk of carrying grime into finished areas.
Control Construction Dust Before Wet Cleaning
The key challenge in a post-fit-out villa cleaning checklist is removing dust without simply moving it from one place to another. Dry sweeping can send fine particles back into the air, while wet wiping too early can turn loose plaster dust into streaks and muddy deposits. Begin with controlled dry removal, then move to damp wiping and final polishing.
Start at Ceilings, Vents, and High Ledges
Inspect ceiling corners, cornices, AC grilles, vent covers, curtain pockets, fan blades, light fittings, smoke detectors, and the upper edges of doors. Use a vacuum attachment or a soft, clean duster suited to the fixture. Take care around electrical components and avoid introducing moisture into light fittings or vents. Dust from these locations falls onto lower surfaces, so they must be handled first.
Vacuum Before You Wipe or Mop
Vacuum hard floors, stair treads, shelves, cabinet interiors, windowsills, and floor edges before applying water or cleaner. Use a crevice tool at skirting lines, under built-in units, around door tracks, and inside drawer corners. The purpose is to lift grit that could scratch flooring or become a grey film when wet. Empty or clean the vacuum as necessary, since an overloaded filter can reduce performance and recirculate fine dust.
Treat Residue One Type at a Time
Paint specks, grout haze, cement dust, silicone, tape adhesive, and labels do not respond to one universal cleaning method. First identify what is on the surface and what the surface is made of. A technique that works on plain glass may be unsuitable for painted aluminium, natural stone, engineered stone, wood veneer, or polished metal.
Use the least aggressive appropriate method and test it discreetly. Never scrape blindly or apply a harsh solvent because a residue seems stubborn. If removal requires unusual pressure, leaves a change in the finish, or creates doubt about the material, stop and document the issue. The aim is a residue-free surface that remains undamaged, not an apparently quick result with permanent scratches.
Kitchen, Pantry, and Cabinet Checklist
Kitchen and storage spaces need detailed attention because they will soon hold food, dishes, linen, and personal items. Dust enters even closed drawers during installation, and debris can collect under shelves, along runners, and behind cabinet doors. Clean every storage unit before it is loaded, while it is still empty and fully accessible.
Clean Interiors, Doors, and Hardware
Open every kitchen cabinet, pantry, wardrobe, vanity, utility cupboard, and drawer. Vacuum loose particles from corners, shelf supports, tracks, and drawer bases with a soft attachment. Wipe the interior panels, shelves, door backs, and fronts with a clean cloth suitable for the cabinet material. Let interiors dry before placing items inside or closing them for extended periods.
Wipe handles, hinges, rails, and soft-close hardware without saturating them. Check that doors and drawers open, close, and align properly once visible dust has been removed. If a drawer catches or a door rubs, log it as a fitting matter instead of forcing the mechanism. Cleaning can reveal the problem, but adjustment belongs to the appropriate project follow-up.
For ongoing routine care after you move in, see the household-cleaning information and the residential cleaning page. The post-fit-out stage is deeper and more detailed, but regular attention helps preserve the finished condition.
Inspect Counters, Sinks, and Appliances
Remove counter protection and appliance labels in line with the relevant material guidance. Wipe countertops with a non-abrasive cloth, paying attention to cut-outs, joints, upstands, and edges. Check around sinks, taps, hobs, and appliance openings, where fine dust often gathers. Remove cleaning product residue as directed and dry the surface so that marks or streaks are visible.
Do not overlook laundry spaces, service cupboards, under-stair storage, and cleaning closets. Empty rooms still collect dust, labels, offcuts, and residue. Vacuum shelves and floors, wipe accessible surfaces, inspect vents and pipe entries, and make sure loose waste has not been left behind.
Bathrooms and Wet Areas
Bathrooms often appear nearly clean because their surfaces are smooth and reflective, yet dust can remain in grout lines, niches, drains, cabinet interiors, and shower tracks. The final clean should also include a careful visual check of tiles, silicone, glazing, fixtures, and drainage. Use methods appropriate to each tile, stone, glass, and metal finish.
Clean Tiles, Fixtures, and Drains Gently
First remove dry dust from tile ledges, shower niches, vanity edges, extractors, and fittings. Wipe wall tiles from top to bottom, moving to lower surfaces only after upper areas are complete. If grout haze is present, confirm the tile and grout type before choosing a removal method. Some products can be unsuitable for certain stone or grout installations, so testing and material guidance matter.
Clean basins, toilets, tubs, taps, shower controls, and drain covers with non-abrasive tools. Dry polished metal fixtures after cleaning so that water marks, fingerprints, and adhesive traces can be seen. Run water and flush fixtures only where services are active and ready, then look for slow drainage or visible leaks. Note installation concerns rather than trying to repair them during cleaning.
Finish Mirrors, Shower Glass, and Sealed Edges
Mirrors and shower screens often retain stickers, protective film, fingerprints, and construction dust. Remove labels gently, then use a dedicated clean glass cloth to avoid lint. Inspect glazing from several angles because streaks may be invisible when viewed straight on. Avoid abrasive pads on glass, chrome, or framed shower components.
Floors, Stairs, and Skirting Boards
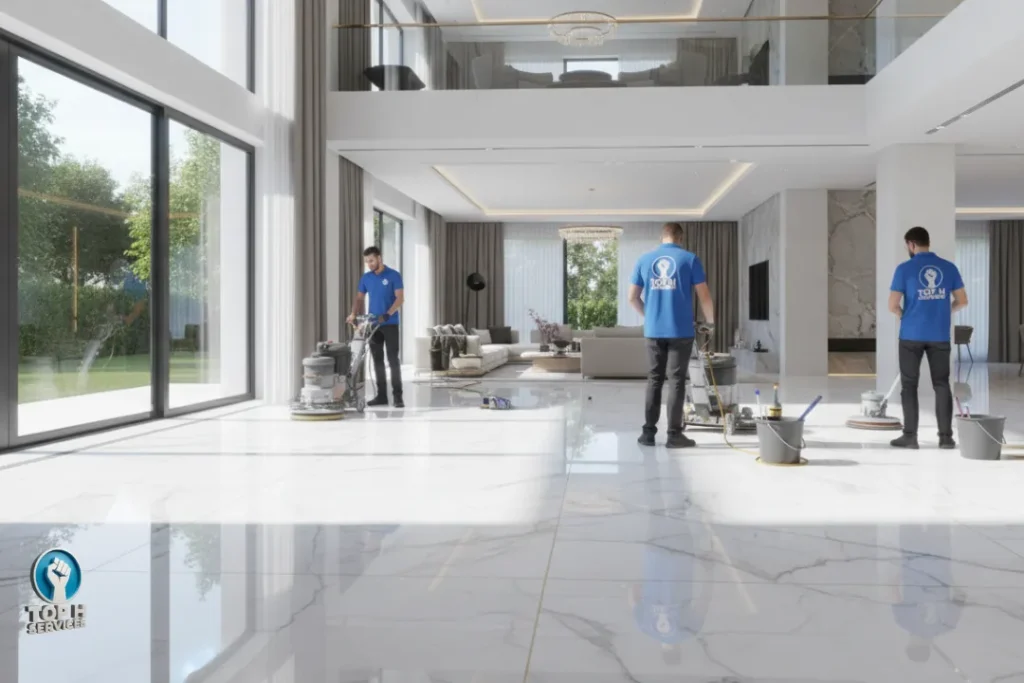
Floors usually hold the greatest concentration of dust and grit from a fit-out. They are also among the surfaces most likely to be damaged by poor techniques, dirty mops, dragging equipment, or inappropriate chemicals. Carry out the detailed final floor pass only after high surfaces, cabinetry, and glazing have been completed.
Identify Every Floor Material First
Check whether each area is tile, porcelain, natural stone, timber, laminate, vinyl, carpet, polished concrete, or another finish. New flooring may have a sealant, coating, or recommended cleaning method. Do not assume a product suitable for ceramic tile is safe for stone, wood, or a coated floor. Review available care information before starting.
Vacuum all loose material using a soft attachment where needed. Include corners, edges under cabinets, thresholds, floor vents, stair nosings, and the line beside skirting. Do not drag buckets, boxes, ladders, or machinery across a finished floor. If people still need access, use a clean, non-staining protective route that does not trap moisture or transfer adhesive.
The floor-care resource is a useful internal reference for later maintenance. At the final cleaning stage, the priorities are grit removal, minimal appropriate moisture, and a clean finish without haze.
Work Carefully on Stairs and Edges
Clean stairs from the upper landing downward. Dust accumulates on tread edges, risers, handrails, balusters, and the joint between a stair and wall. Use stable footing and do not carry an open bucket on the stairs. Wipe handrails after dusty work is finished, then inspect them for adhesive, paint flecks, or film residue.
Complete the Final Floor Pass Last
Once the room is otherwise clean, mop or treat the flooring according to its material requirements. Use clean water and a freshly cleaned mop head; dirty water can leave streaks, powdery residue, and dull patches. Refresh water between heavily soiled zones and allow the floor to dry fully before inspection.
Inspect in both natural and artificial light for haze, footprints, missed edges, and residue around thresholds. Keep completed rooms free of shoes, boxes, and unnecessary equipment. If deliveries are scheduled immediately afterward, designate a protected route and check the floor again once traffic has stopped.
Windows, Doors, and Light Fittings
Clean windows can make a major difference to how a finished villa feels in daylight. However, glass, tracks, frames, and seals may carry construction dust, labels, paint flecks, and adhesive. Remove loose grit first; wetting it immediately can make the cleaning process harder and increase scratch risk.
Clean Tracks, Frames, and Glass in Order
Vacuum or brush window tracks, corners, weep holes, and frame edges with a soft tool. Wipe the frames with a suitable product, taking care around seals, finishes, and hardware. Clean the glass in manageable sections with a dedicated clean cloth, then dry the edges. Inspect from inside and outside where access is safe; do not use unsafe methods to reach high exterior panes.
Look for tape residue, paint overspray, silicone traces, or scratches after the glazing is clean. Some marks are defects rather than removable dirt, so record them clearly. Check mirrors, internal glass partitions, glass doors, balustrades, and sliding doors with the same attention to tracks, edges, and streak-free finishing.
Dust Fittings and Wipe Touch Points
Dust recessed lights, pendant shades, ceiling roses, and wall fixtures carefully. Follow safe practices around electrical components, turn off power where appropriate, and avoid introducing moisture into fittings. Remove installation labels only if this can be done without damaging the surface.
Exterior Entry, Balcony, and Yard Areas
The move-in presentation of a villa begins at the entry. Dust, leaves, grout fragments, packaging, and construction debris can remain on paths, balconies, garages, terraces, railings, and around external doors. Clean these areas in a way that respects drainage, landscaping, exterior finishes, and neighbouring property.
Sweep or collect loose debris before using water where appropriate. Check drains and grates for sediment or packaging that could restrict flow. Wipe external door frames, handles, railings, and light fittings with methods suited to their finish. Clean balcony glazing only when access can be managed safely, and avoid directing water into openings, electrical points, or places where it can pool.
For outdoor tidiness, the yard-cleaning information is an appropriate internal resource. If cushions or furnished seating will be added after move-in, the upholstery-care page may also be helpful. Keep soft furnishings away from active dust-producing work until exterior tasks have concluded.
Final Inspection and Move-In Sign-Off
The final inspection turns cleaning tasks into a verified move-in standard. Carry it out after floors are dry and after the last avoidable site traffic has stopped. Open blinds or curtains, switch on lights, and inspect each space while it is still largely empty. Good lighting and access make it easier to see what a quick walk-through misses.
Check Every Room from High to Low
In each room, look up, around, and down. Check ceilings, vents, upper ledges, walls, switches, cabinetry, window tracks, glass, skirting, and floor edges. Open drawers, wardrobes, and cupboards. In kitchens and bathrooms, revisit internal shelves, drains, fixtures, and splash areas to make sure dust has not settled again after the first pass.
Use daylight where possible and artificial light to check corners and reflective surfaces. Daylight can reveal broad floor streaks and smudges on glass, while an angled light can show fine dust on cabinet fronts or ledges. Do not rely only on the view from the doorway; the detail in hinges, tracks, edges, and high shelves is part of a proper completion check.
Separate Cleaning from Project Repairs
Mark each item as complete, needing a cleaning revisit, or needing a repair or handover response. A surface can be perfectly clean while still having a crack, chip, misalignment, damaged finish, or incomplete seal. Keeping these categories separate avoids confusion and helps make follow-up more efficient.
Before belongings arrive, confirm that waste has been removed, the villa is dry and ventilated, storage spaces are clean, and access routes are safe. If a more extensive cleaning step is required, see the deep-cleaning resource and the villa after-construction guide. For general updates and related topics, visit the blog, or use the booking page when you are ready to arrange assistance.
Frequently Asked Questions:
When should the post-fit-out villa cleaning checklist be completed?
Complete it after all dust-producing work, final painting, drilling, cutting, installation, and touch-ups have ended. The best time is before furniture and personal belongings are moved in, while cabinets, floors, windows, and storage areas are fully accessible. If trades need to return, protect cleaned routes and schedule a final touch-up inspection afterward.
Should the floor be cleaned first?
Vacuuming loose floor grit early is important, but the detailed final floor clean should be near the end. Dust from ceilings, vents, cabinetry, windows, and high ledges falls downward as other work proceeds. Cleaning from high to low reduces repeat work and helps prevent fresh streaks on an already mopped floor.
How should adhesive residue be handled?
Identify the residue and the surface beneath it before choosing a method. Remove labels or film slowly, test an appropriate approach in a hidden spot, and avoid aggressive scraping. If the material is delicate, new, or uncertain, stop rather than risk scratching, dulling, or discolouring the finish.
What needs checking inside new cabinets and wardrobes before
post fit out villa cleaning checklist ?
Inspect shelf tops, drawer bases, corners, door backs, hinges, handles, runners, and rails for dust, packaging fragments, labels, and fingerprints. Wipe interiors with a suitable clean cloth and allow them to dry before loading. Test every door and drawer; alignment or movement problems should be logged as fitting issues rather than treated as cleaning alone.
Why do windows still look dirty after wiping?
Glass can show lint, product residue, or streaks from another angle or in stronger daylight. Dusty frames and tracks can also transfer particles back onto the pane. Clean tracks and frames first, use a dedicated clean glass cloth, dry the edges, and inspect from more than one direction.
What is the purpose of the final inspection?
The final inspection confirms that rooms are ready for move-in and identifies areas needing another cleaning pass. It also makes project defects visible after dust and temporary protection have been removed. Separating cleaning completion from repair issues creates a clearer record for the final handover.
Conclusion
A complete post-fit-out villa cleaning checklist gives structure to the final stage between construction completion and daily living. Remove debris first, control dust from high to low, choose methods by surface, clean storage interiors before filling them, protect the floors, finish the glazing carefully, and inspect every room under good light. These steps create a cleaner and more usable home while revealing details that deserve attention before move-in.
The best final clean is methodical rather than aggressive. It relies on fresh tools, surface awareness, careful residue removal, and a documented walk-through. With that approach, the villa can begin its next chapter in a clean, organized condition.